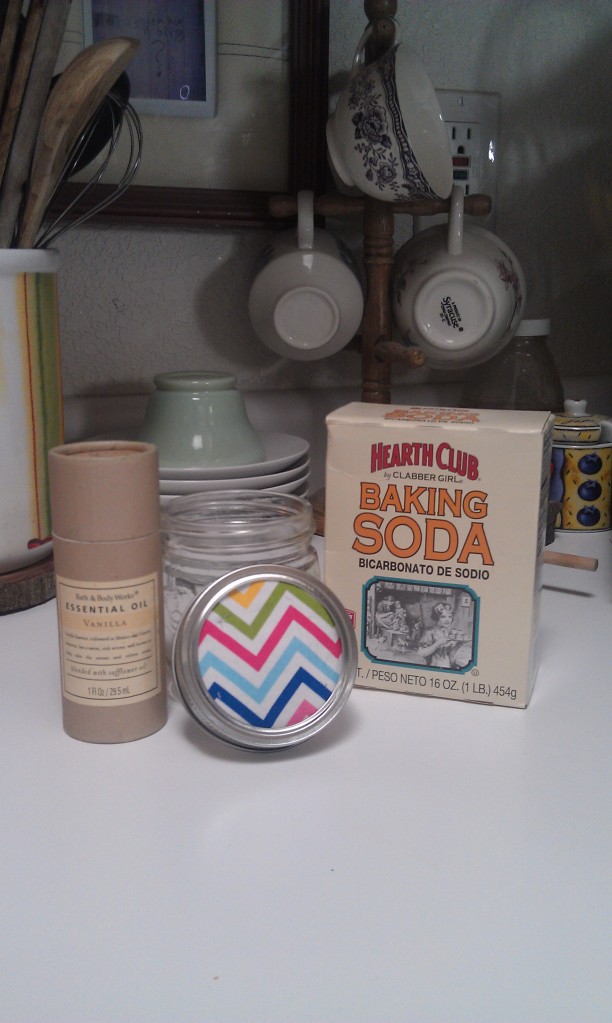
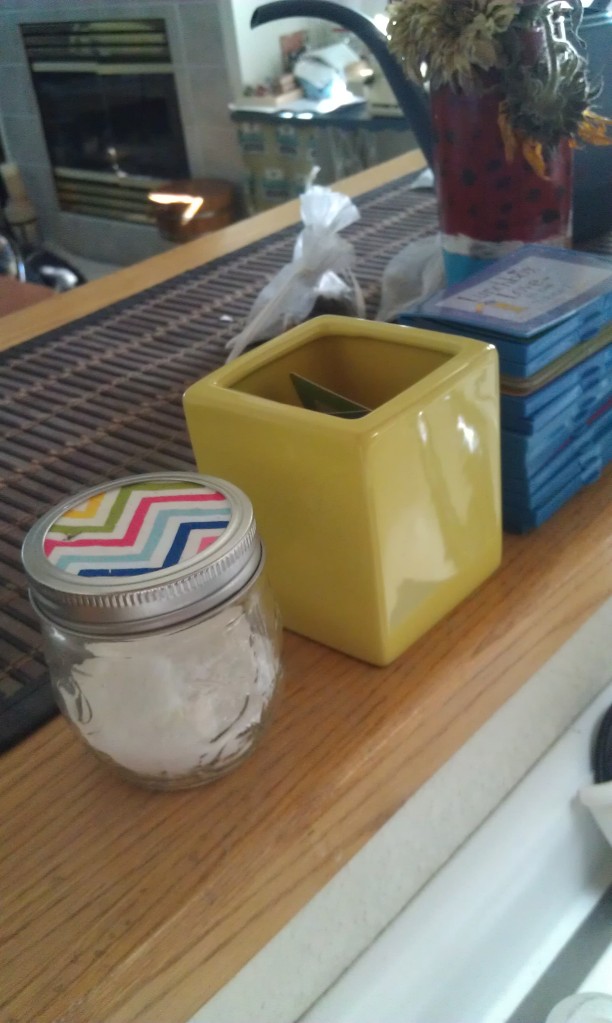
Now, I love me some Scentsy. That stuff is yummy and the warmers sure do spice up the home. Plus, those scents don’t make me feel like I am inhaling a chemical factory. But I do refuse to use sprays like Febreeze or those plug ins that spray stuff in your face seemingly every time you walk by. So since I can’t afford to adorn every room in our home with a Scentsy warmer {we have 8 rooms!}, I decided to just make my own air freshener.. naturally!
Supplies:
-baking soda
-masor jar {I used a half pint} with just the ring
-fabric or scrapbook paper {I used fabric circles already cut out for the jar already}
-scented oil; I used some essential oil in vanilla that I purchased at Bath & Body Works a while back
-pen
-scissors
-tapestry needle
Procedure:
Take your fabric or paper and pen and trace a circle with the metal mason jar canning lid {not the ring, the metal circle that usually goes in the ring} and cut that out.
Take the tapestry needle and poke holes through out the fabric or paper. This is to aerate it so the yummy scent will come through.
Measure out half a cup of baking soda and pour into the jar.
Put in about 10-15 drops of the oil. The amount will depend on how large your room is. If you want to put this in the bathroom, I would do less drops. If you want this in your living room, more drops would be better. I would suggest dropping in the least amount, wait a couple hours to see if you can smell it. If not, add more.
Put the lid on the jar with the cut out aerated circle and gently shake the jar, mixing together the oil and baking soda.
Place where you want and enjoy the scent; naturally!
No harsh chemicals in the air filling up your nostrils.


Thats smart ! And cute! x great post xx
ReplyDeletehttp://hevastyle.blogspot.co.uk/
Thank you! XO
DeleteWhat a great idea! I'm definitely going to have to make one of these!
ReplyDeleteChloe
http://rainbowsandhoneysuckle.blogspot.com/
I'd love to see what you create! Thanks for stopping by! XO
DeleteThis is great! Can't wait to give this a try!
ReplyDeleteIf you do try it, let me know! I'd love to see your take on it and which essential oil you use. I love seeing different variations of the containers, etc! XO
DeleteThat's an awesome idea! I teach a class for fourth and fifth grade girls at my church, and I'm always looking for easy, cheap crafts - I can't wait to try this!
ReplyDeleteIt is definitely an easy craft for anyone! {Responding to your email right now!}
DeleteOH I love this! I'm a freak about smells, so this is definitely something I'm interested in! How long does it last for you?
ReplyDeletexoxo,
samm @ dysfunctionaleverafter.com
For me, it lasts a few weeks and then I need to switch it out. I am thinking about moving it to the bathroom where the space is smaller and you can smell it better, though. I may be switching it out too early since our main living space {where it currently sits} is very large.
DeleteOk, your DIY posts are really awesome. I'm loving this idea.
ReplyDeleteThank you!! XO
Delete