Showing posts with label diy. Show all posts

Tuesday, April 23, 2013

DIY Reusable Tea Bag


 Not a coffee lover? Prefer a cup of tea instead? I have a super simple way for you to enjoy that tea with out throwing away a single tea bag ever again! Im serious. And, like the coffee filter, it is easy and will take you as long as it takes to get the tea pot steamin'! 

Here is what you'll need:

-loose leaf tea {you can find this next to the regular tea in the grocery store or if you have a local tea company, you can get the tea from them}
-pre-washed, loose-woven unbleached cotton muslin scraps {if you're making the coffee filters too, you can use the same fabric}
-embroidery floss, bakers twine, or thin unbleached cotton rope {needs to be cotton}
-cotton fabric scrap {any color/patterned fabric scrap}


And yes, a sewing machine and scissors too! 

Procedure:

Cut a piece of your muslin fabric so that it measures 3x5 1/4

Fold down the top edge that measures 5 1/4 about 1/4-1/2 inch and stitch


Fold bag in half, right sides together {seams facing out} and sew around starting just below the fold you made at the top {this will be the casing for your string. yes, we are making a mini drawstring bag!}


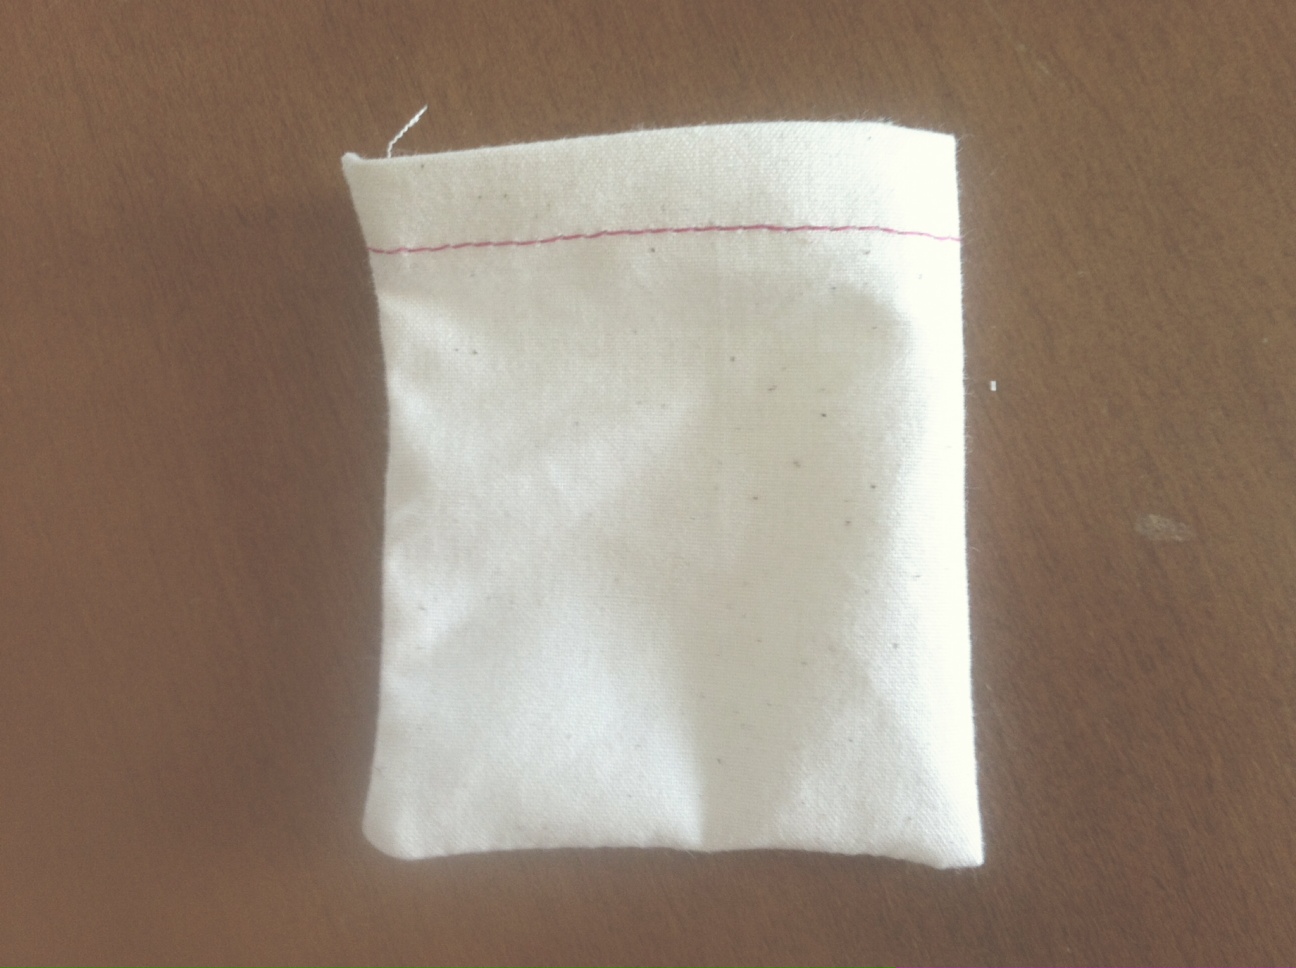
Cut approx. 7-8 inches of floss, twine, or rope

Thread your floss, twine, or rope through the casing using a mini safety pin


Take your fabric scrap and cut out a little shape. I used pinking shears since this will be reused a lot and I want to prevent as much fraying as possible.


Stitch  to the end of both of the floss, twine, or rope ends


Add about 1-2 teaspoons of the loose leaf tea {depending on how strong you like your tea}


Close bag and steep!


{mug rug gifted by a great bloggy friend Torrie from Fox + Hazel]

Enjoying your tea yet? Well, get this! You can empty the tea leaves and hand wash your bags when you're finished with your cup. Lay them flat to dry on your dish drying rack and they're ready to reuse!

Not down for a reusable tea bag, but want to make a tea bag anyhow? Head on over to A Beautiful Mess blog for a Sweet Tea Bag Tutorial


PostSig

Pin It!

Monday, April 8, 2013

DIY Stained Mason Jar


There is nothing prettier than a vintage blue mason jar. Okay; maybe a vintage blush pink mason jar, but I was all out of that color. But purchasing those blue mason jars can make a hole in your pocket [this is why I only have one and I can't believe it was only $14!] when finding them at the antique shops. What if I told you that you can turn any regular ol' mason jar in to one of those pretty and popular vintage blue mason jars [or any other color you prefer!]?! Well, you can! 

Supplies:

Mod Podge
Food coloring
Mason jar [or any other label-free, clear jar]
Paper cup or plate
Plastic spoon
Paint brush
Wax paper


Procedure:

-Preheat oven to 200 degrees
-Mix 2 tablespoons of water with 4 tablespoons mod podge
-Put in about 5 or 6 drops food coloring and mix


-Pour mixture in to jar [a little bit at a time] and paint the mixture up the sides of the jar all the way to the lip


-Place jar upside down on wax paper and place on a baking sheet
-Bake in oven for about 3-4 minutes
-Pull out jar and wipe up excess mixture from lip and smooth out any drip streaks on the inside of jar [I didn't do this on the first three jars and you can tell in the photos that they streaked]
-Place right side up on wax paper and place back in oven
-Bake for an additional 25-30 minutes, or until transparent


Let cool then use!


For a fraction of the cost you can have the pretty vintage blue mason jars all around your house!


PostSig

Pin It!

Tuesday, April 2, 2013

DIY Wrapped Hair Comb


I am not a big hair accessory person since I cut my hair [I wish I hadn't! Ugh!], but my daughter is. She will wear anything from elegant to what-the-heck-is-that so I wanted to create a little fun twist to an otherwise original hair accessory for her; the hair comb. I'll take you through a very easy how to on making one for yourself.

Materials:

-hair comb
-thread [in any color and as many colors as you'd like]
-scissors


Procedure:

Take the thread and loop it around the first section of the comb and tie it off. Cut off as much excess thread at the end as possible. 

Continue wrapping around each section of the comb to desired thickness being sure to overlap the knot at the beginning to hide it. 


If changing colors, knot one end of a color to the other and continue wrapping, cutting off any excess thread on the ends. Be sure to tuck that knot in when you wrap around. Repeat for any additional colors.

At the end, cut the thread leaving enough at the end to tuck underneath some of the layers of thread already wrapped around the comb; tuck the end in.


You now have a spruced up hair comb that will make a statement!


Place hair comb in and show it off.


PostSig

Pin It!

Wednesday, March 20, 2013

DIY Garbage Disposal Fresheners

If you're using your garbage disposal as you should be then it wont take long before it gets a little stinky. But if you make these quick and easy little balls of freshness you can rid of the smell and have a fresh smelling disposal. With just a few ingredients [that you already have, I'm sure!] these can be whipped up in minutes.
[Note: these will need to dry out over night or all day]

Materials:

-baking soda
-salt
-lemon
-essential oil, any scent [optional. i used an orange scent]
-dish soap
-grater
-melon baller or spoon
-wax paper
-container
Procedure:
-Measure out 3/4 c. to 1 c. baking soda. Depending on how juicy your lemon is, I would start with 3/4 c. and add the rest if it's not the right consistency. Pour into mixing bowl.
-Measure 1/2 c. salt and add to baking soda
-Mix to make sure it isn't lumpy
-Grate lemon peel into the mixture
-Cut lemon in half and squeeze out all of the juice
-Measure 1 teaspoon dish soap and add to mixture
-Put a few drop of essential oil in [optional]
-Mix together until you get a coarse consistency, like wet sand. If it's too liquidy, add the other 1/4 c. baking soda. 
-Take your melon baller or spoon and scoop out little balls. Place them on a sheet of wax paper.
-Leave out over night or all day to dry
-Put them in a cute container and keep next to the sink or under the sink to save counter space.
When your disposal is smelling a little funky just drop one in and turn it on!


PostSig

Pin It!

Wednesday, March 6, 2013

DIY Lip Balm


Many lip balms out there contain ingredients that can be harmful to your skin and lips causing more damage. Isn’t the reason you use lip balm is to help with chapped lips? Why cause more damage by using a product claiming to do just that?
You could go out and buy an all natural lip balm and lip balm that doesn’t contain phenol, menthol, salicylic acid, vitamin e or alcohol. Or you could just make your own!
It’s really easy and only takes a few ingredients. Ingredients you may already have!
Gather:
Coconut Oil
Petroleum Jelly
Beeswax
A pack of kool-aid {yes, Kool-aid!!} in any color {we used cherry}
Small container for the lip balm. I found mine at Forever21; they came in a beauty kit with some bottles in a cute bag. Even came with a funnel!
Shave one tablespoon of beeswax into a microwave safe bowl
Add 4 tablespoons coconut oil and 4 tablespoons of petroleum jelly
Heat in microwave for about 45 seconds or until melted
Mix in as little or as much of the kool-aid as youd like until dissolved. We used cherry, but as you can tell, it turned it a nice plum color. We got it for flavor purposes more-so than color preference.
Pour into the container and let set for a couple hours. Or put in the fridge for about an hour. Then use and enjoy!
The containers came with cute little spatulas too.
Loving the plum color too! When you apply the lip balm there is a slight hint of the color.
I added a cute little label to them


PostSig

Pin It!

Friday, March 1, 2013

Pinspiration Friday


This weeks Pinspiration is super functional! And much needed in the bathroom or your camping supplies! I saw this over at The Burlap Bag and knew I needed to put this craft under my belt. I changed it up, using the entire lid, which made it easier to stick the sand paper on. 


To make this you will need:

a mason jar with lid
stick on fine sandpaper {not super fine}
strike anywhere matches

Put the matches in the jar
Trace the lid on the back of the sandpaper and cut out
Stick on to lid
Put lid on

So easy!


PostSig

Pin It!